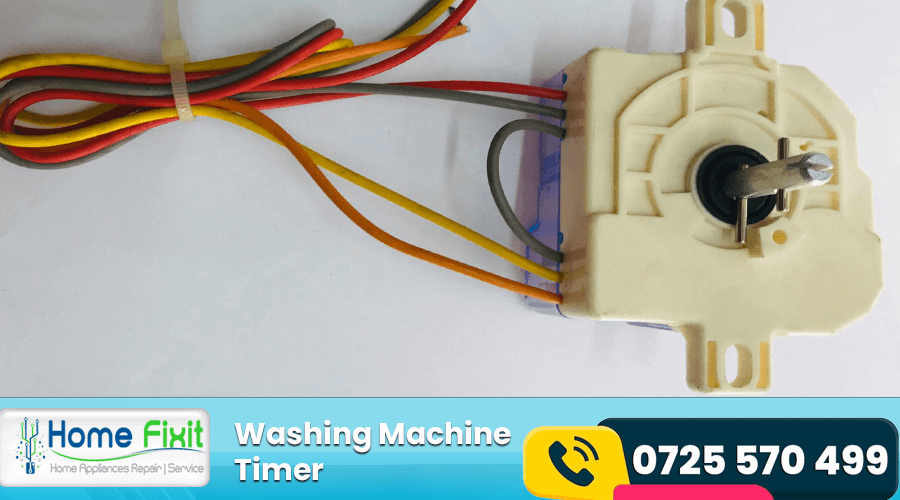
A washing machine timer is a crucial component that controls the various stages of a washing cycle. Its primary function is to regulate the duration of each phase, such as washing, rinsing, and spinning, ensuring that clothes are cleaned efficiently. The timer essentially acts as the conductor of the washing machine orchestra, orchestrating the different operations in a synchronized manner.
Functions of a Washing Machine Timer:
-
Washing Cycle Duration: The timer sets the length of time the washing machine spends on washing the clothes. It determines how long the agitator or drum rotates to clean the clothes effectively.
-
Rinsing Cycle Duration: Once the washing cycle is complete, the timer initiates the rinsing phase, determining how long the machine will spend removing detergent and debris from the clothes.
-
Spinning Cycle Duration: After rinsing, the timer controls the spinning cycle, dictating how long the drum or agitator rotates to extract excess water from the clothes before the cycle concludes.
-
Program Selection: Modern washing machines often come with various wash programs. The timer allows users to choose different wash settings, and it ensures that the machine follows the selected program accurately.
Location of the Washing Machine Timer:
The timer is typically located in the control panel of the washing machine. This panel is usually positioned on the top, front, or back of the machine, depending on the model. It is connected to the machine's electrical system and the cycle selector knob, allowing users to set the desired wash cycle.
Replacement Process:
If the washing machine timer malfunctions or fails, it may be necessary to replace it. Here is a general guide on how to replace a washing machine timer:
-
Safety First: Unplug the washing machine from the electrical outlet to ensure safety during the replacement process.
-
Access the Control Panel: Remove any screws, clips, or panels that secure the control panel to the washing machine. This will allow you to access the timer.
-
Disconnect Wires: Take note of the existing wiring connections on the timer. Carefully disconnect the wires by using a screwdriver or pliers, depending on the type of connectors.
-
Remove the Timer: Unscrew or unclip the timer from its mounting location. Some timers may be secured with screws, while others may have retaining clips.
-
Install the New Timer: Place the new timer in the same position as the old one. Secure it in place using screws or clips.
-
Reconnect Wires: Connect the wires to the corresponding terminals on the new timer. Refer to your washing machine's manual or the markings on the timer for proper identification.
-
Close the Control Panel: Put the control panel back in place and secure it with screws or clips.
-
Plug In the Washing Machine: Once the new timer is installed and the control panel is secured, plug the washing machine back into the electrical outlet.
-
Test the Machine: Turn on the washing machine and test it with a small load to ensure that the new timer functions correctly and the cycles operate as intended.
If you are unsure about the replacement process or if your washing machine is still under warranty, it is recommended to consult the manufacturer's instructions or seek professional assistance.
